Physical Address
304 North Cardinal St.
Dorchester Center, MA 02124
Physical Address
304 North Cardinal St.
Dorchester Center, MA 02124

Controlling an LED using a switch is one of the most basic and important experiments in electronics. This project helps beginners understand how electrical circuits work and how a simple switch can control the flow of current.
In this blog post, you will learn how to turn an LED ON and OFF using a switch, required components, circuit working, common mistakes, and real-life applications. This project is perfect for students, beginners, and DIY electronics enthusiasts.
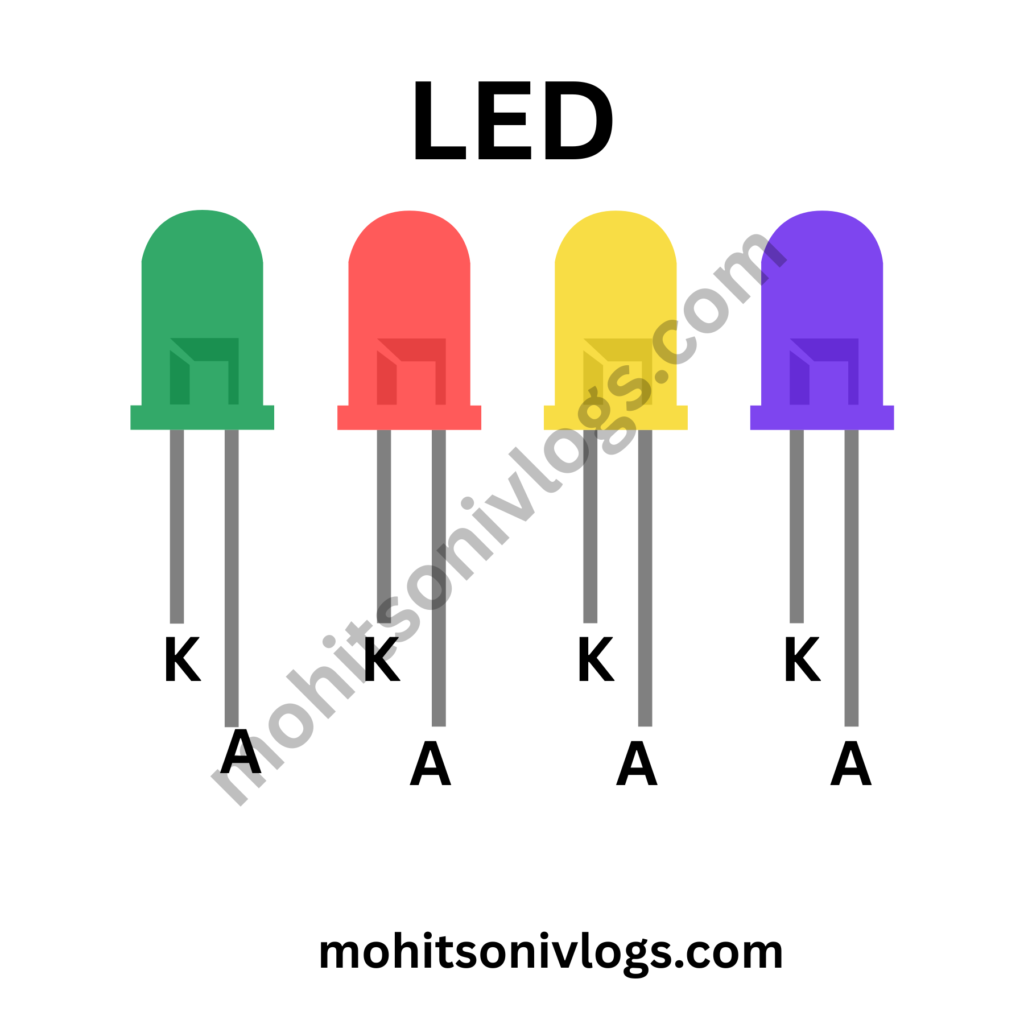
LED stands for Light Emitting Diode. It is a semiconductor device that emits light when current flows through it in the forward direction. LEDs are widely used because they consume very low power and have a long lifespan.
A switch is an electrical component used to open or close a circuit.
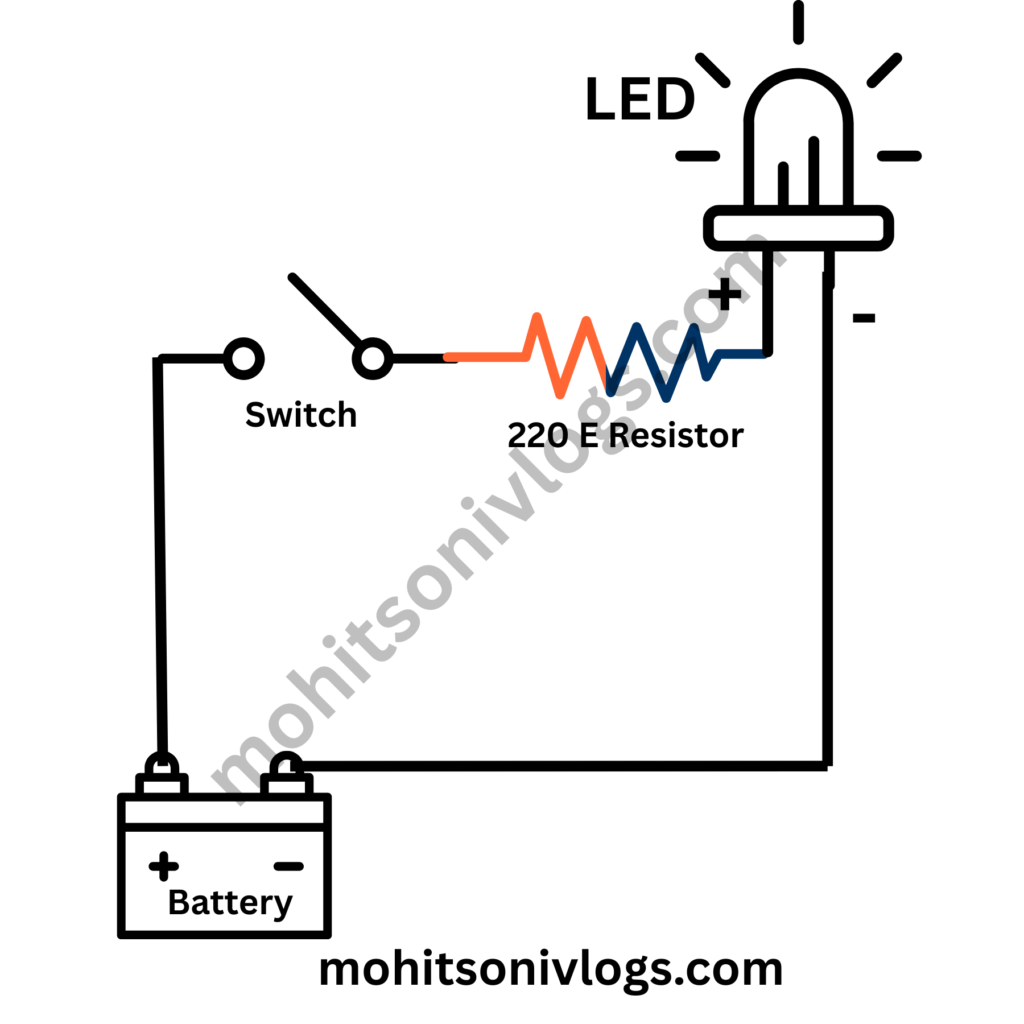
To build an LED ON/OFF circuit using a switch, you need:
The circuit is very simple:
The resistor is important to limit current and protect the LED from damage.
When the switch is released or turned OFF:
This simple principle is used in almost all electrical and electronic switches.
LEDs are very sensitive to current.
Without a resistor:
A resistor controls the current and increases LED life.
❌ Connecting LED without a resistor
❌ Reversing LED polarity
❌ Loose breadboard connections
❌ Using very high voltage directly
This basic circuit is used in many real-life applications:
This project is widely used in:
It is easy to understand and demonstrates basic circuit concepts clearly.
✔ Very simple and low cost
✔ Ideal for beginners
✔ Helps understand basic electronics
✔ Safe low-voltage operation
Q1. Can I use any LED color?
Yes, you can use red, green, blue, or white LEDs.
Q2. Can I use this circuit without a breadboard?
Yes, you can solder the components on a PCB.
Q3. What happens if I don’t use a resistor?
The LED may burn due to excess current.
The LED ON/OFF using switch project is the foundation of electronics learning. It teaches how current flows, how switches work, and why resistors are important. Every beginner should start with this experiment before moving to advanced projects.